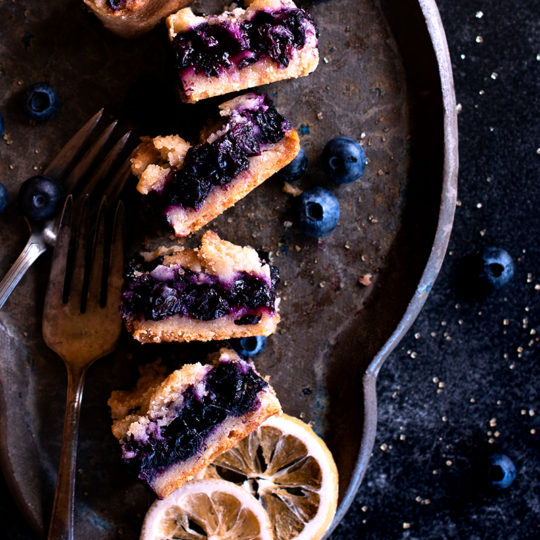

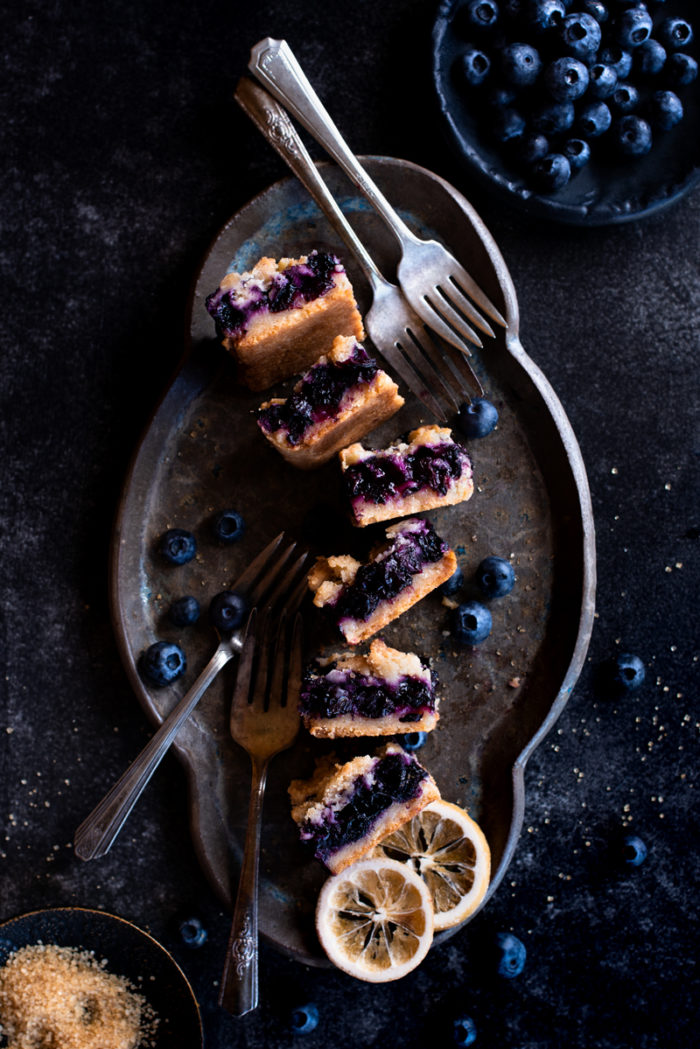
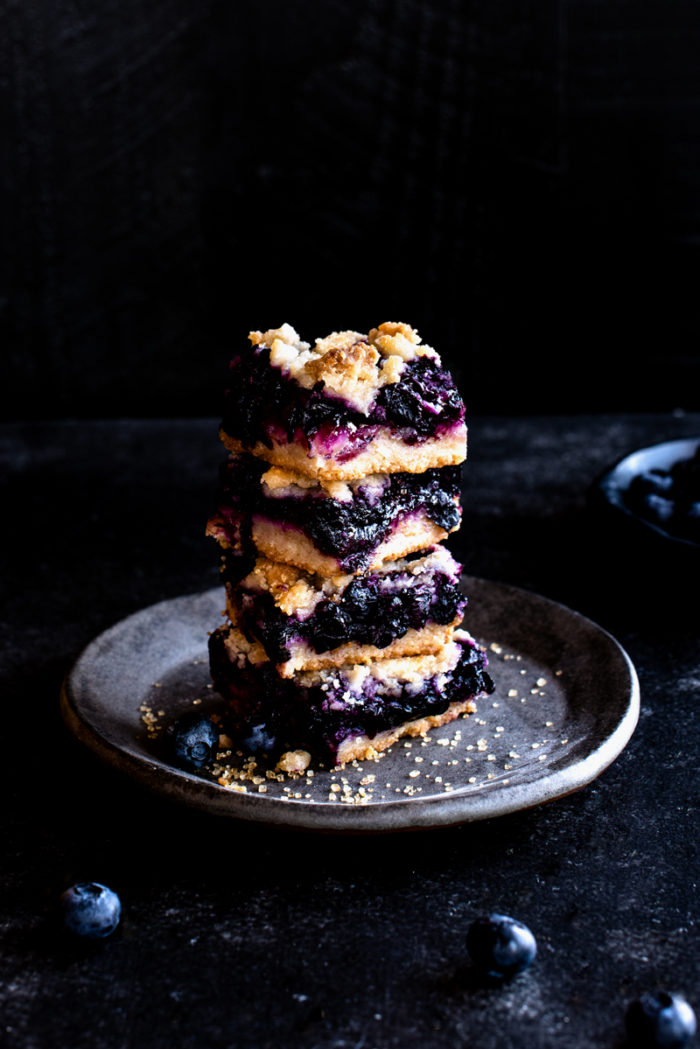
When it comes to pie, I like crisp, buttery crusts piled high with fruit and these blueberry pie bars deliver on both counts. Bonus: no crust rolling necessary!
In fact, the same dough recipe does double duty here, pressed into the bottom of the pie pan for the aforementioned gloriously golden base and then crumbled on top for a zero effort streusel-y finish.
This recipe has been through a fair few iterations and originally started life as more of a shortbread-like base. While delicious, the crust puffing that came from a base with leavener didn’t respond well to a juicy fruit filling and was just a little too soft for my liking.
The resulting slightly soggy middles between fruit and crust after a day on the counter didn’t win any awards from me, either. I wanted these blueberry pie bars to taste just as good on day 3 as day 1, just like a good pie should. Sogginess, begone!
 So the next step was to pare down the recipe, testing out a crust that was more pie-like, without egg and leaveners.
My first few batches were all baked at once, in that I simply pressed in the base, layered in the blueberry filling and topped it off with the crumble before baking altogether.
While that does work just fine, I didn’t feel the end result was pie-like enough to warrant what I’d already decided were supposed to be blueberry pie bars.
So I tested the next version with a speedy little par bake of just the bottom crust.
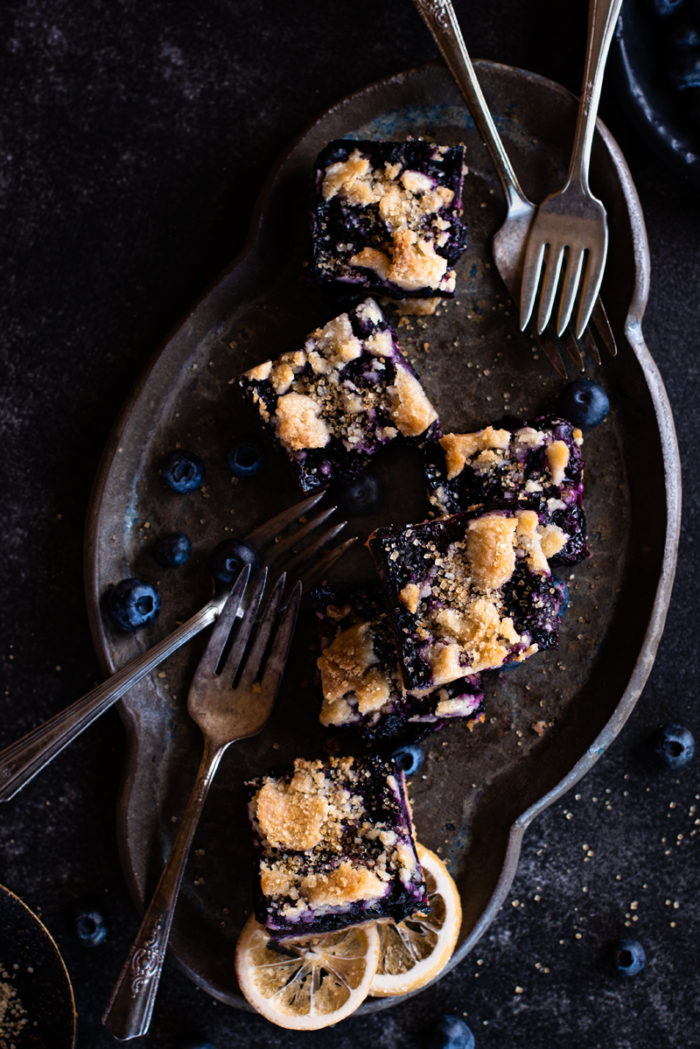
This gives a beautifully golden base that really creates that warm, crispiness of a good pie crust and takes these bars from generic fruity squares to truly Pie Bar territory!
Now, if you do like a slightly softer base, you could skip the par bake step – rolling those 8 – 10 minutes into the rest of the bake time. Or, you could swap the metal baking dish for a glass dish for a less crispy finish.
But, really, why would you want to? I probably feel a little too strongly about my love of crispy crust. Maybe.
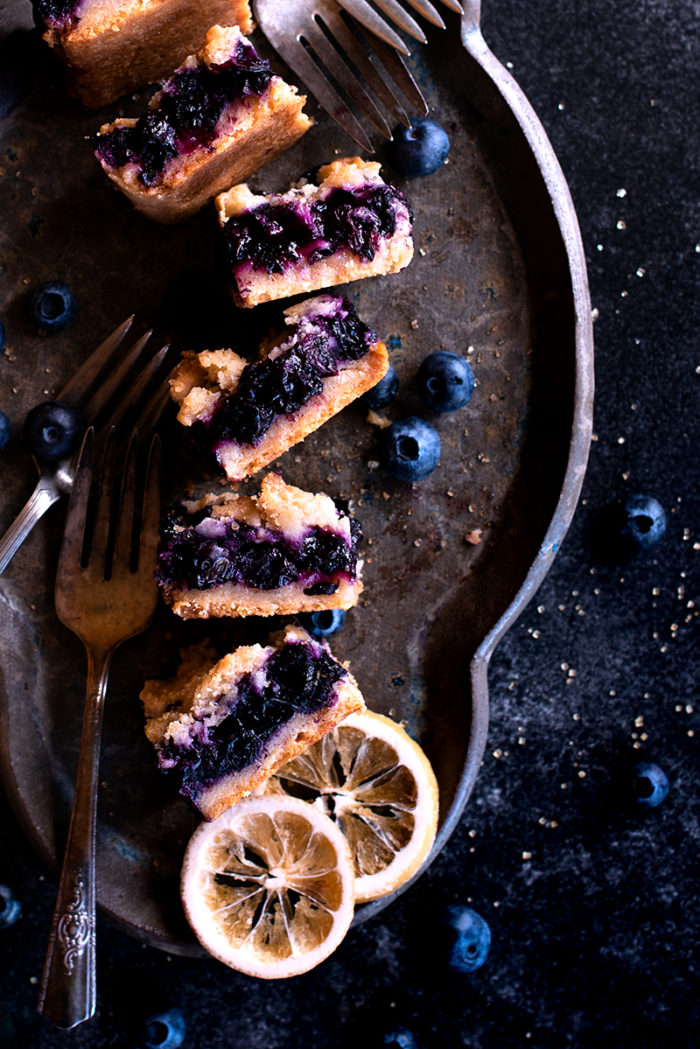
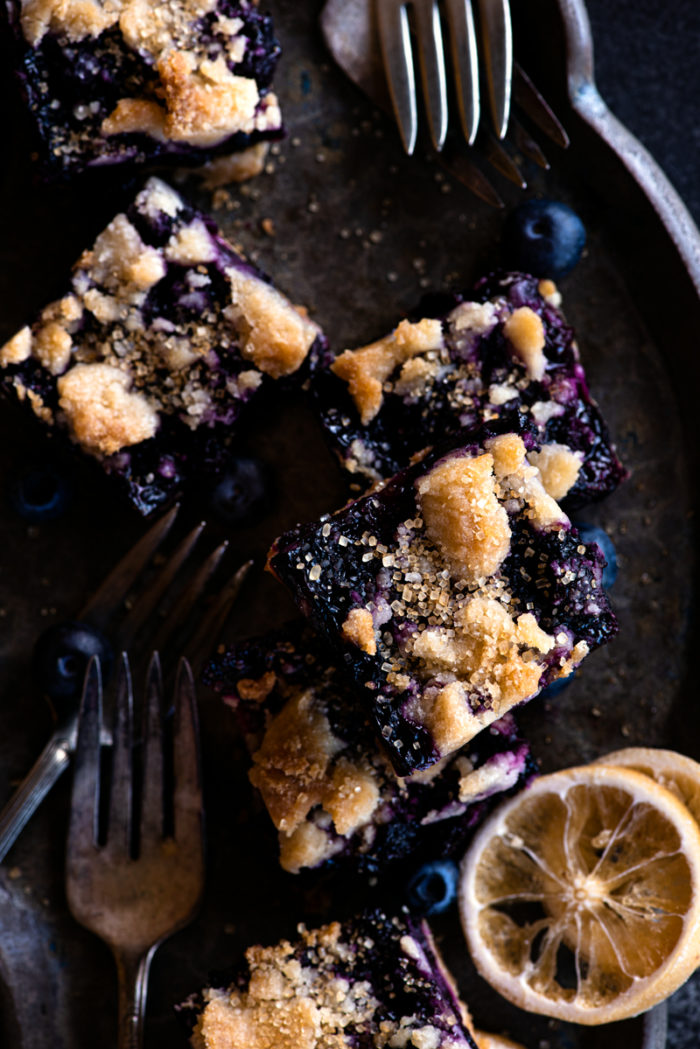
The hint of lemon in these bars does two things. Firstly, that kiss of zing really brings out the flavor of the fruit and contrasts nicely with the richness & sweetness of the crust. Secondly, the acid from the juice helps the blueberries create that gorgeous purple-y hue.
For the record, I did not exaggerate or enhance that color in the photos, although that may be a little hard to believe – that’s allllll blueberry magic!
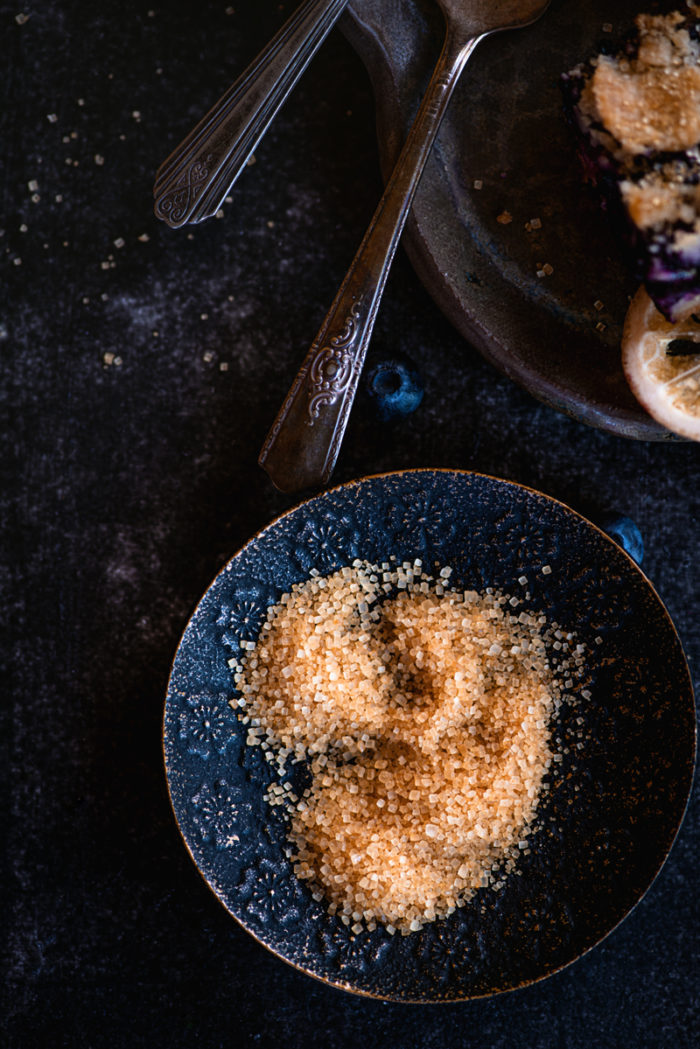
And, lastly, if you like a little extra crunchy sugar magic, feel free to sprinkle the top of these bars with a little turbinado sugar when they come out of the oven!
PrintEasy Peasy Blueberry Pie Bars
These blueberry pie bars have a crisp, buttery crust piled high with blueberries & finished with a crumble-y top for a perfectly portable take on pie.
- Prep Time: 20 minutes
- Cook Time: 40 minutes
- Total Time: 1 hour
- Yield: 16 squares 1x
- Method: oven
Ingredients
Crust:
- 2 cups / 250 g all purpose flour
- 1/3 cup / 70 g granulated sugar
- 1/3 cup / 65 g light brown sugar
- ¼ tsp salt
- 2/3 cup / 150 g unsalted butter, slightly softened
Filling:
- 1 tbsp / 12 g arrowroot starch
- 1/3 cup / 70 g granulated sugar
- 1 ½ tbsp / 22 ml lemon juice & zest from one lemon
- 3 cups / 430 g blueberries
- Pinch of salt
- Optional: turbinado sugar for sprinkling
Instructions
PREP: Preheat the oven to 350 F / 175 C and line an 8 inch square baking pan with parchment paper.
MIX: In a large bowl, mix together the flour, both sugars and salt. Use a pastry cutter to cut the butter into the flour until it resembles coarse crumbs and is evenly distributed through the mixture.
RESERVE: Save 1 cup / 155 g of the crust mixture, about one third. Save it in the fridge to use for the topping later.
PRESS: Sprinkle the rest of the crust mixture evenly over the base of the prepared pan, starting with the corners and edges for even thickness throughout. Working from the outside in, press down the crust so that it firms up into a single layer. If you like, use the bottom of a measuring cup to press down and level out any finger dimples for the smoothest finish.
BAKE: Place the baking pan in the preheated oven on the middle shelf and bake until lightly golden and just dry on the surface with a slight golden edge and a light puff, about 8 – 10 minutes.
COMBINE: While the crust is par baking, use a microplane or similar to zest the lemon & a lemon squeezer to juice it. Mix together the arrowroot starch, sugar, lemon juice and zest in a medium mixing bowl until it resembles a slightly thickened slurry. Add the blueberries and stir together until they are coated in the sugar mixture.
TOP: Transfer the par baked crust to a trivet and increase the oven temperature to 375 F / 190 C. Spoon the blueberry mixture onto the hot crust, being mindful of the hot pan and your hands! Squeeze together the refrigerated reserved crust mixture so that it clumps up lightly, then sprinkle it across the surface of the fruit. Let the blueberries peek through the crumbles in places.
FINISH: Return the pan to the oven and bake until the blueberries are just bubbling at the edges and the crumble topping is golden brown, about 30 minutes. If you like, sprinkle with a little turbinado sugar while still warm for a lovely bit of crunch.
COOL: Remove the pan from the oven and place on an oven safe cooling rack or trivet. Let the bars cool to room temperature before attempting to remove them from the pan, about 2 – 3 hours.
SERVE: Once cooled, run a spatula around the edge of the bars to loosen them, then use the parchment paper beneath to lift them free of the baking pan. Slice and serve. Transfer the sliced bars to an airtight container if not serving immediately.


Notes
- If your have time, let the butter sit out at room temperature so that it softens slightly and is easier to cut into the flour.
- If you prefer a softer crust, you can skip the par bake and add the 8 – 10 minutes onto the fruit baking time, for a total of 38 – 40 minutes. Or you could try using a glass pan for less crispness. This makes for a more cookie like finish and won’t hold together quite as well, so it’s your choice.
- You can increase the lemon juice up to 2 tablespoons / 30 milliliters if your lemon is especially juicy or large.