
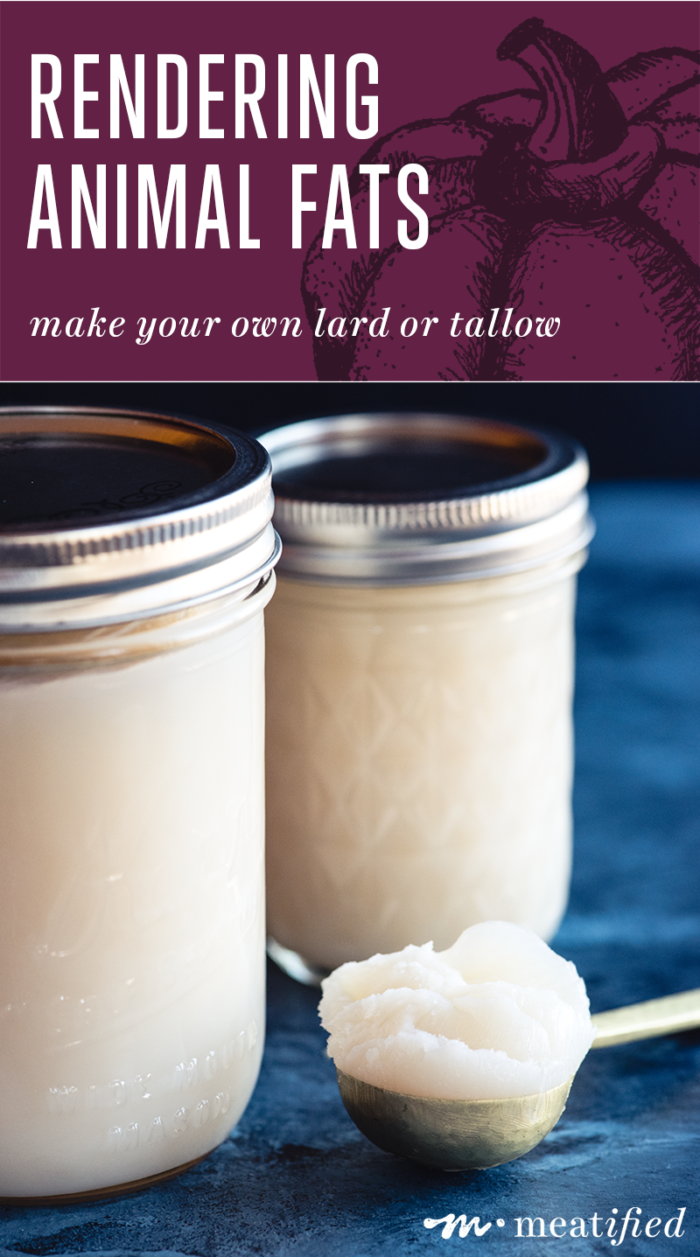
I know, “rendering animal fats” sounds both a little weird and intimidating. It’s really just a fancy way to describe slowly melting down fat (most commonly pork or beef) into a clean, shelf stable cooking fat like lard or tallow.
It might sound counter intuitive if – like me – you had been taught and brought up to think that “low fat” was the way to go and saturated fat was the terrifying source of all dietary evils, but these kinds of saturated fats are great for cooking and some of the least processed options when it comes to fats and oils in your kitchen. (If you’d like to read more about fats and the autoimmune protocol, this is a good quick read).
Things have changed a lot in grocery stores. Saturated fats like coconut oil are back on the shelves and even a wide variety of animal fats, such as lard, tallow and duck fat. And while it’s lovely to have those options available, they can get particularly pricey, especially when you’re sourcing high quality organic, grass fed and pastured fats.
It’s actually very simple and inexpensive to make your own! Rendering animal fats might sound scary, but it’s a totally simple process. You can start off with pork back fat (fatback), fat trimmed from the pork belly, leaf lard or suet. You can find them through local butchers and the fatback is especially inexpensive.
You start off by trimming and then chopping up your fat of choice. I’m lazy at this stage and leave the pieces fairly large, about a half inch or so, but the smaller you chop it, the less time it will take rendering. Since there’s so little hands on time rendering, I don’t mind if it takes a little longer and saves my hands some chopping. You can also ask your butcher to grind the fat for you, if that’s an option.
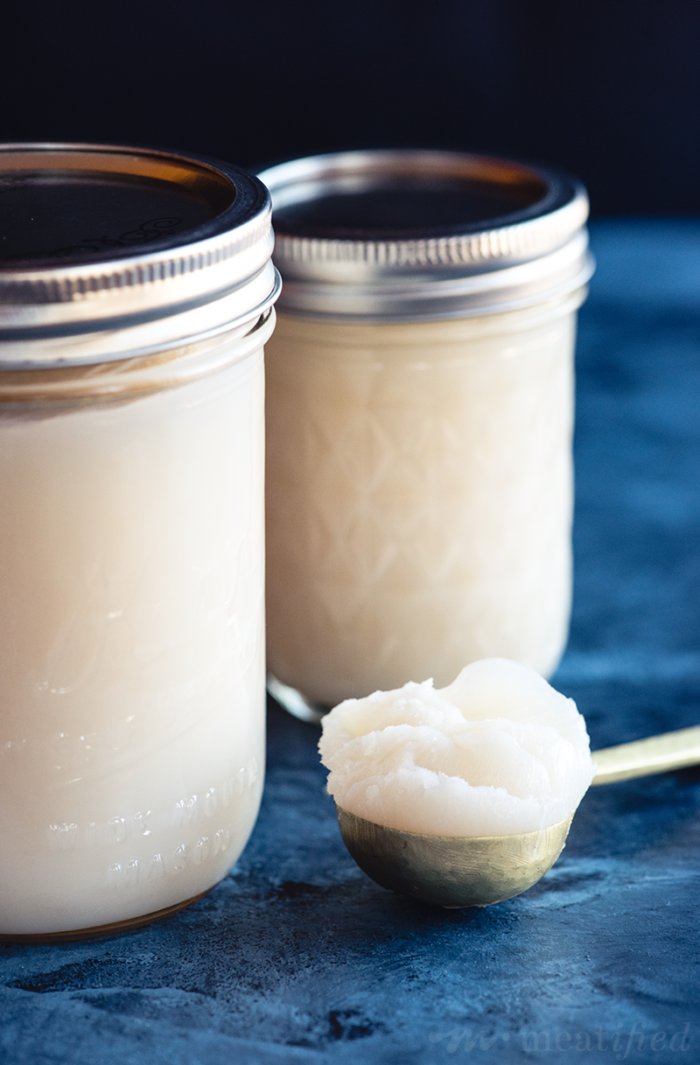
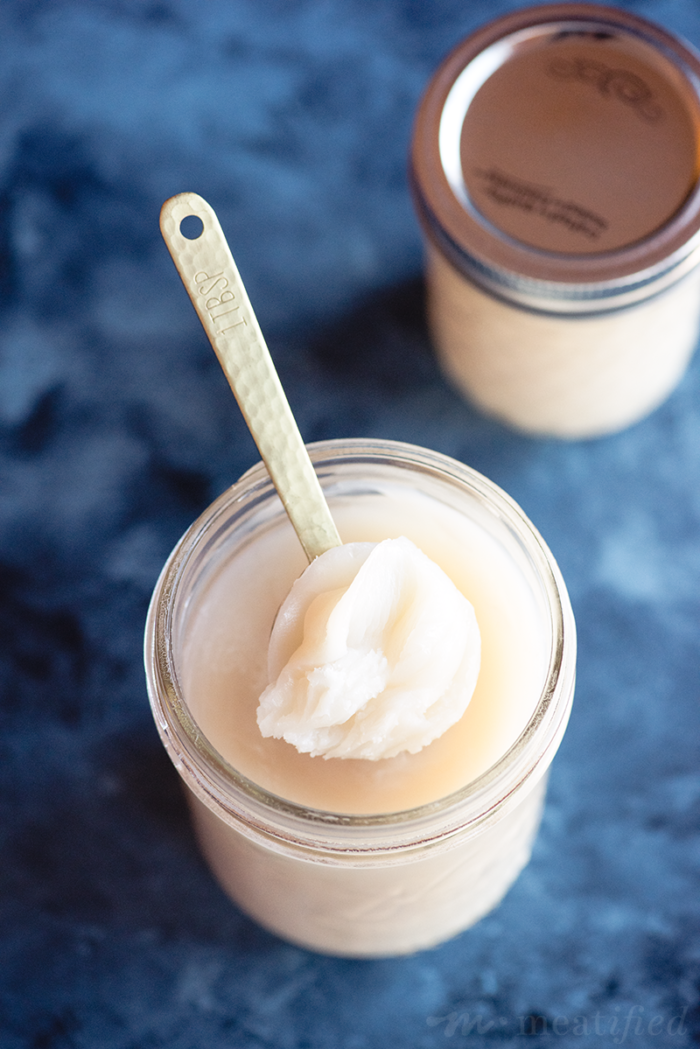
The main part of the action, the gentle melting of the fat, takes a few hours, but doesn’t take any special effort on your part except an occasional stir at the beginning to prevent the pieces sticking or browning. The key with rendering animal fats is not to rush things. Don’t be tempted to turn up the heat past low or to allow the fat to brown or overheat. The best lard especially has a lovely snowy white color when done, which makes it suitable for baking.
If the fat renders too fast and browns, it will still be totally useable, but it will have a bit of a meaty odor and end up more of a yellow tinge. It will still be good for cooking with, but you’ll want to stick to savory dishes Just take your time and let the fat do its thing. Preferably with a good vent hood going!
The only part of the process that requires a little attention is straining. You’ll want to run the rendered animal fats through a fine mesh strainer layered with some cheesecloth to remove any little bits and pieces. This will help keep your lard or tallow fresher for longer, leaving just the fat behind which can be stored almost indefinitely in the fridge or freezer.
Once the fat has rendered and been strained, you’ll be left with some crackling pieces that you can either discard or continue to cook up and crisp to eat yourself.
The amount of finished rendered fat you’ll make will depend on how much animal fat you start with, the length of rendering time and the type of fat you choose. I find that beef fat renders faster but yields less tallow, whereas pork fat is slower but yields a larger amount of lard.
What you will need to for rendering animal fats:
A fine mesh strainer
A few layers of cheesecloth
A heatproof measuring jug
Some wide mouth Mason jars and lids
Rendering Animal Fats
- Prep Time: 15 mins
- Cook Time: 3 hours
- Total Time: 3 hours 15 mins
- Yield: About 1 1/2 pints / 3 cups / 720 ml 1x
Ingredients
- 2 lbs / 900 g skinless pork back fat (fatback) or belly fat, pork or beef leaf lard, or beef suet
- ½ cup / 120 ml cold filtered water
Instructions
- TRIM: Use a sharp knife to carefully cut off and discard any pieces of meat or membrane from the fat. Cut the fat into approximately ½ inch / 1.25 cm pieces. Larger pieces will work just fine, but they’ll take longer to cook down.
- MELT: Add the chopped fat and the cold water to a Dutch oven or heavy bottomed skillet on the stove top. Over low heat, slowly begin to melt the fat. The water will help avoid the fat burning or getting too hot at the beginning – it will evaporate itself off once the fat has begun to melt. Don’t be tempted to increase the stove top heat! The goal here is to very slowly melt the fat so that it doesn’t brown or color. This helps keep the finished rendered fat from having a kind of browned, meaty flavor.
- RENDER: Continue to melt down the fat, stirring occasionally to avoid sticking and browning, until the bottom of the pan is evenly coated in clear fat. Once the pork or beef pieces are swimming in the fat, they will no longer touch the bottom of the pan, so you won’t need to stir as often. Let the pieces simmer gently in the liquid fat, but don’t let the fat get too hot (it will spit) or bubble up too much. Slow and steady is the aim here and it will likely take about 2 hours for beef or 3 hours for pork fat to fully cook down.
- REMOVE: When there is plenty of liquid fat in the pan and the floating pieces have stopped reducing in size and are just on the verge of starting to brown, it’s time to remove them. Spoon off the cracklings into a bowl. You can either discard them now or reserve them for later to crisp up into a snack.
- STRAIN: Place a fine meshed strainer atop a heatproof measuring jug and line it with a few layers of cheesecloth. In batches as needed, spoon off the rendered fat and pour it through the cheesecloth lined strainer to catch any little crispy bits that would taint the finished rendered animal fat.
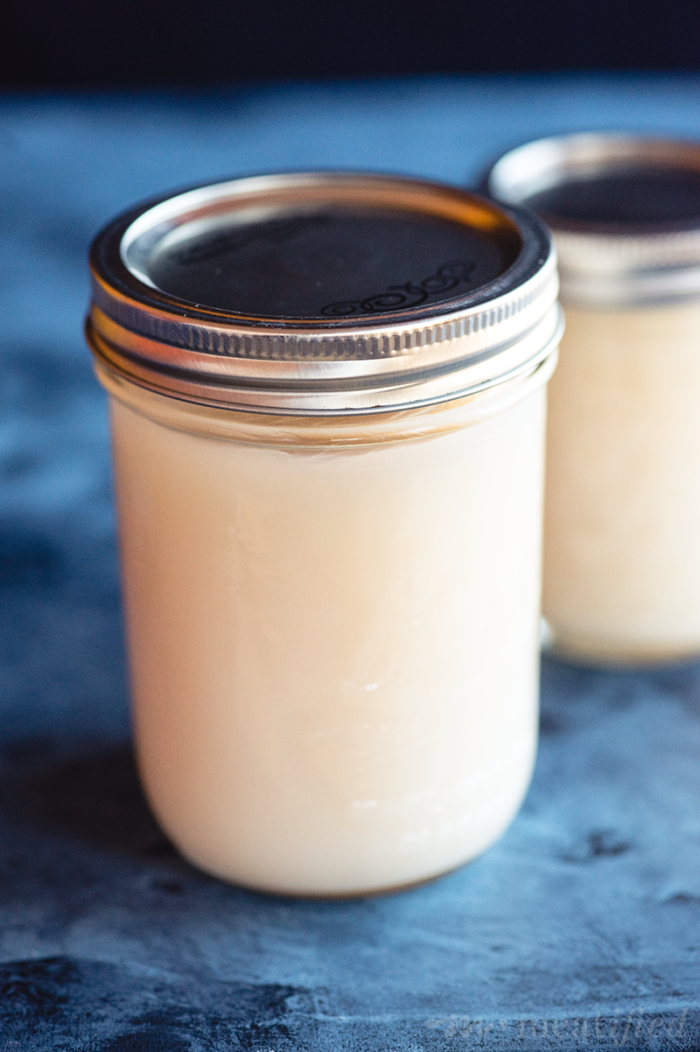
- STORE: Divide the liquid rendered fat between wide mouthed Mason jars. Add the lids and transfer the lard or tallow to the fridge. Although the warm liquid fat will have a golden color, once cool, the finished rendered lard or tallow will be a nice white color if you’ve kept the heat low enough and avoided browning throughout. Keep in the fridge (almost) indefinitely! The amount of fat you will have rendered by the end will vary by the fat you used and the time it took to render. I find that beef renders faster, but yields less tallow, while pork renders slower, but yields more lard.
- CRISP: If you like, you can return the crispy bits back to the pan along with some of the rendered fat and cook them until they crisp up and brown. The pork cracklings will crisp up like lovely croutons or lardons. The beef will do the same, but the flavor is much stronger and, some find, overwhelming. If you’re not a fan, they make great dog treats! Waste not, want not and all that.
If you’re looking for a slow cooker method for rendering animal fats, My Humble Kitchen has you covered!


1 comment