
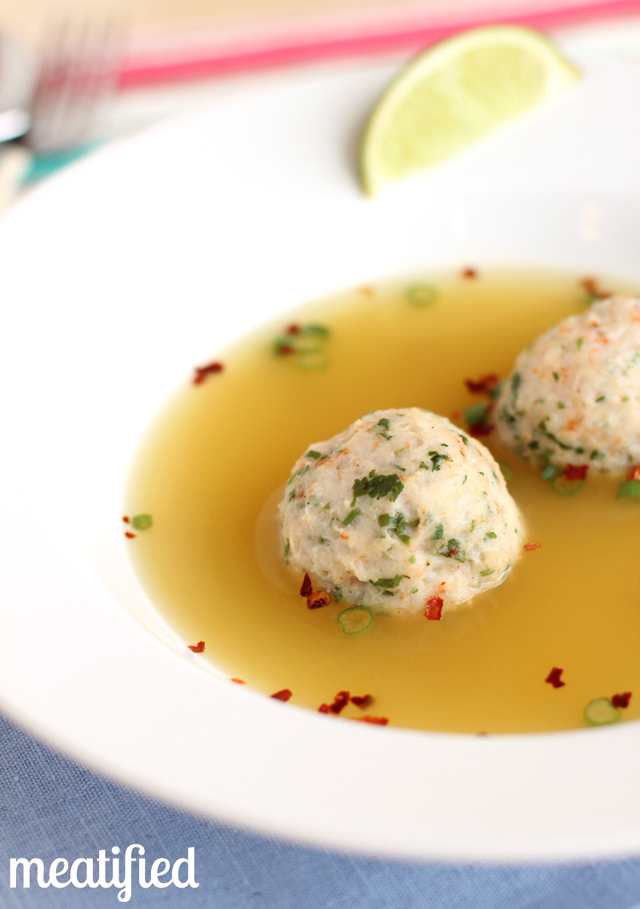
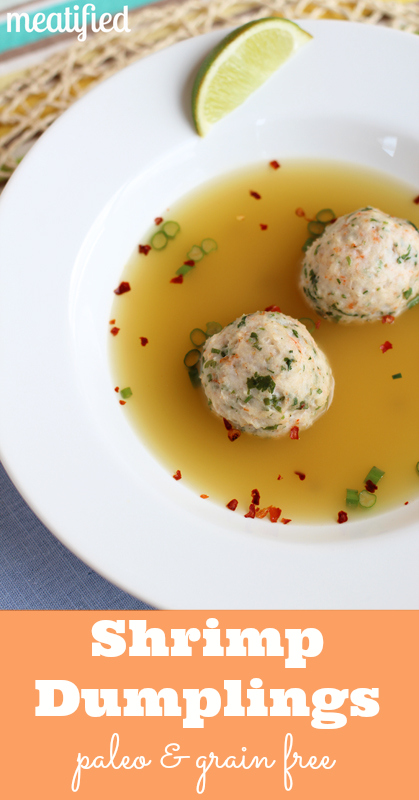
These Shrimp Dumplings are light and tender – but they don’t contain any grains or eggs, huzzah!
They’ve also only got a handful of ingredients. I have made these Shrimp Dumplings a few different ways, so don’t freak out if you’ve already spotted the second recipe below 😉
I find that making these Shrimp Dumplings with my Garlic & Chive Spread gives the best result. I’m no scientist, but they definitely turn out more fluffy and less possibly-bouncy when I use it. However, if you want the quicker version, substitute the coconut cream skimmed from the top of a can of CHILLED coconut milk. That gives enough extra moisture and fat to the dumpling mix. It also means that this recipe can be adapted to suit the Autoimmune Paleo protocol as well as being suitable for the Whole 30 program.
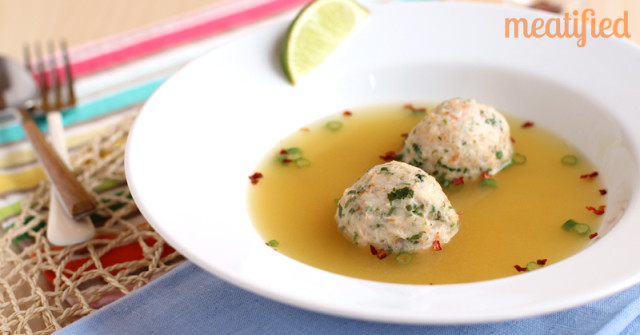
When I first made this shrimp filling recipe, I used it to stuff jalapeño peppers, then baked them. That’s pretty tasty, but the oven baking method definitely firms the mixture up more than you would like for a dumpling. I’ve pan fried the mixture, too – and wouldn’t recommend it. But these Shrimp Dumplings are totally at their best when they’re gently simmered for about 10 minutes in some broth of your choice.
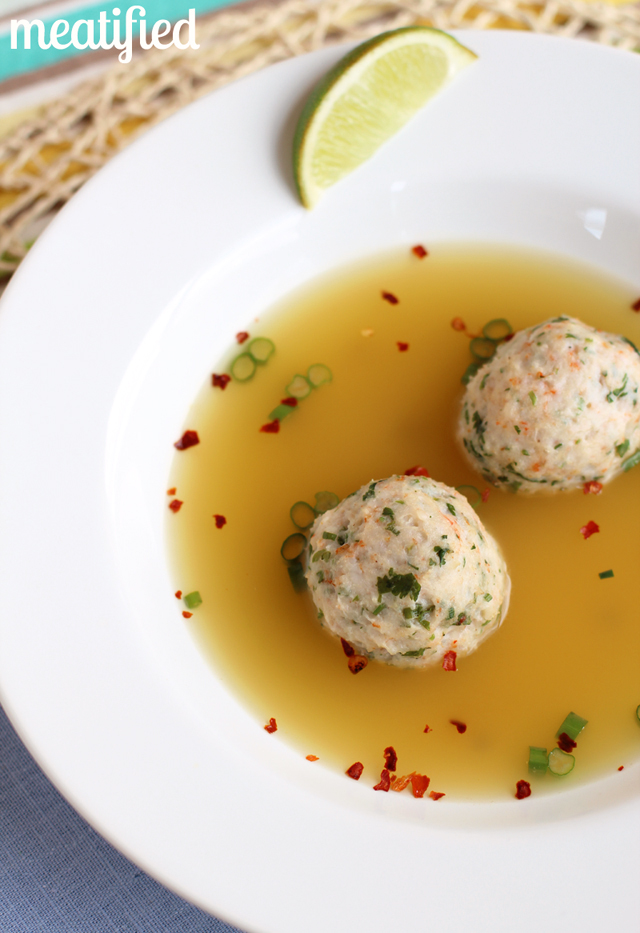
If you want to, you can garnish your bowl of awesomeness with a few extra things – I recommend a squeeze of fresh lime juice, some sliced scallions and (as long as you aren’t on Autoimmune Paleo) some red pepper flakes. Simple food is really awesome, sometimes!
Broth Simmered Shrimp Dumplings
- Yield: 8 dumplings 1x
Ingredients
- For the shrimp dumplings:
- 1 lb peeled & deveined shrimp
- ½ cup Garlic & Chive Spread (see notes) OR ½ cup chilled coconut cream
- ¼ cup fresh minced cilantro
- ½ – 1 tsp garlic powder (see notes below)
- ½ – 1 tsp sea salt (see notes below)
- To cook:
- 4 cups chicken broth or stock
- Optional, to serve:
- Lime wedges, sliced scallions and red pepper flakes
Instructions
- Drain and pat the shrimp dry. Add them to a food processor and process on low until the shrimp is a chunky paste that starts to form a ball.
- Add the Garlic & Chive Spread OR the chilled coconut cream from the coconut milk can.
- Add the fresh cilantro, garlic powder & sea salt.
- Pulse until the mixture is combined.
- Line a half sheet baking tray with a Silpat or some parchment paper.
- Use an ice cream scoop to drop dumpling shapes onto the baking tray or divide into 8 evenly sized balls.
- Refrigerate the Shrimp Dumplings for at least an hour or up to overnight: this helps them firm up and avoid breaking up when they are cooked.
- When you are ready to cook the Shrimp Dumplings, bring the chicken stock to a saucepan to a light boil.
- Drop the Shrimp Dumplings into the chicken stock. Cook them at a gentle simmer for 5 minutes each side, flipping them halfway through the cooking time.
- Serve with the hot broth. If you like, garnish the Shrimp Dumplings with sliced scallions, lime wedges and / or red pepper flakes.
Notes
You can use EITHER ½ cup Garlic & Chive Spread (recipe below) OR ½ cup chilled coconut cream from a can of coconut milk. However, the Garlic & Chive Spread will yield a lighter & more tender result.
If you use the coconut cream instead of the Garlic & Chive Spread, double the salt & garlic to 1 tsp each.
If you are avoiding nightshades, do not garnish with red pepper flakes.
This recipe is suitable for the Whole 30 program and can be made Autoimmune Paleo compliant if you use coconut cream in place of the spread and omit the red pepper flake garnish.
If you liked this post, click here to Pin it!


Thanks for sharing this recipe. I made up two dumplings as soon as I read the post. Refrigerated it over night and about to cook in the broth now for my lunch with a salad. Smells so good already!
I made this today and it was fantastic! Bursting with flavor. I paired it with this broth: http://www.maangchi.com/recipe/eomukguk substituting the soy sauce for coconut aminos. Thanks for the recipe!
Awesome! *happy dance*
This is sorta genius. I happened to have some radish sprouts in the fridge and added some of those to my bowl. Delish!
That sounds great! 🙂
I keep meaning to make this again, but I don’t tend to have time to remake older recipes once they’ve passed the testing phase! Did you make it with the spread or the coconut cream?