
Before you ask, no, I don’t know why I waited until my kitchen was 86F plus before deciding to tool around with making tigernut butter cups.
But wait, I did, which is why I found myself tinkering around with these this week in a kitchen without air conditioning, because of course that’s when the idea of these aip peanut butter cups, aka tigernut butter cups, sounded too good NOT to make. Typical, right?
The good news is that YOU don’t have to wait until you feel your insides are melting through your outsides to whip up a batch. And they’re really, really easy, especially if you whiz up the filling and coating mixtures like I did in my mini food processor. I love that thing. It’s one of the few kitchen things I’ve bought that seemed gratuitous at the time, but makes my life better and I couldn’t imagine giving up now. It’s been going strong for about 5 years, too!
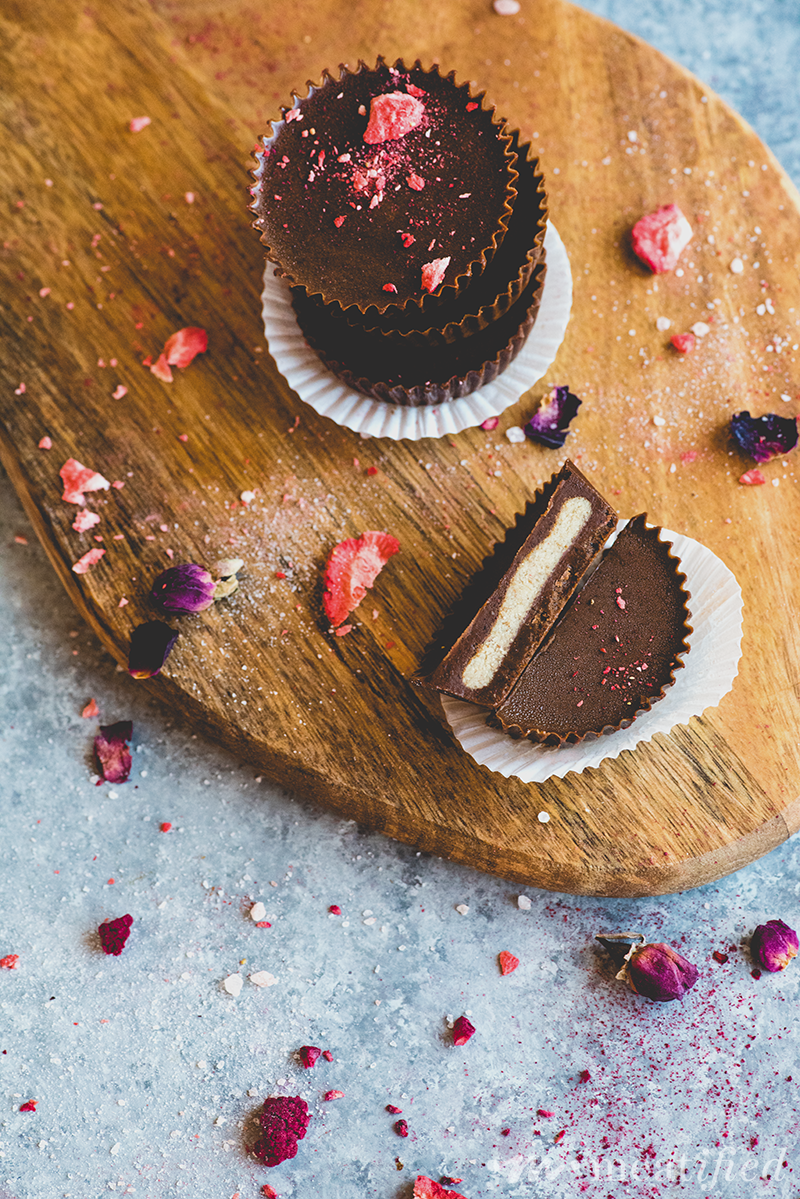
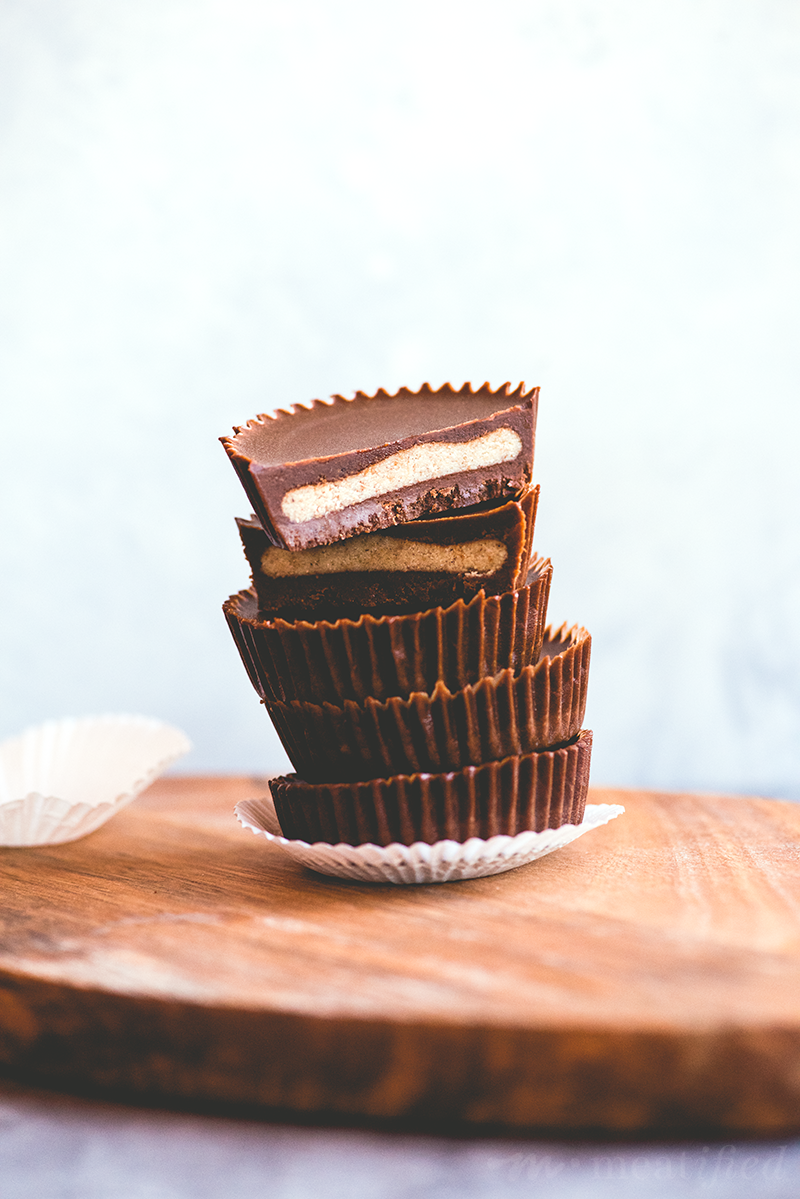
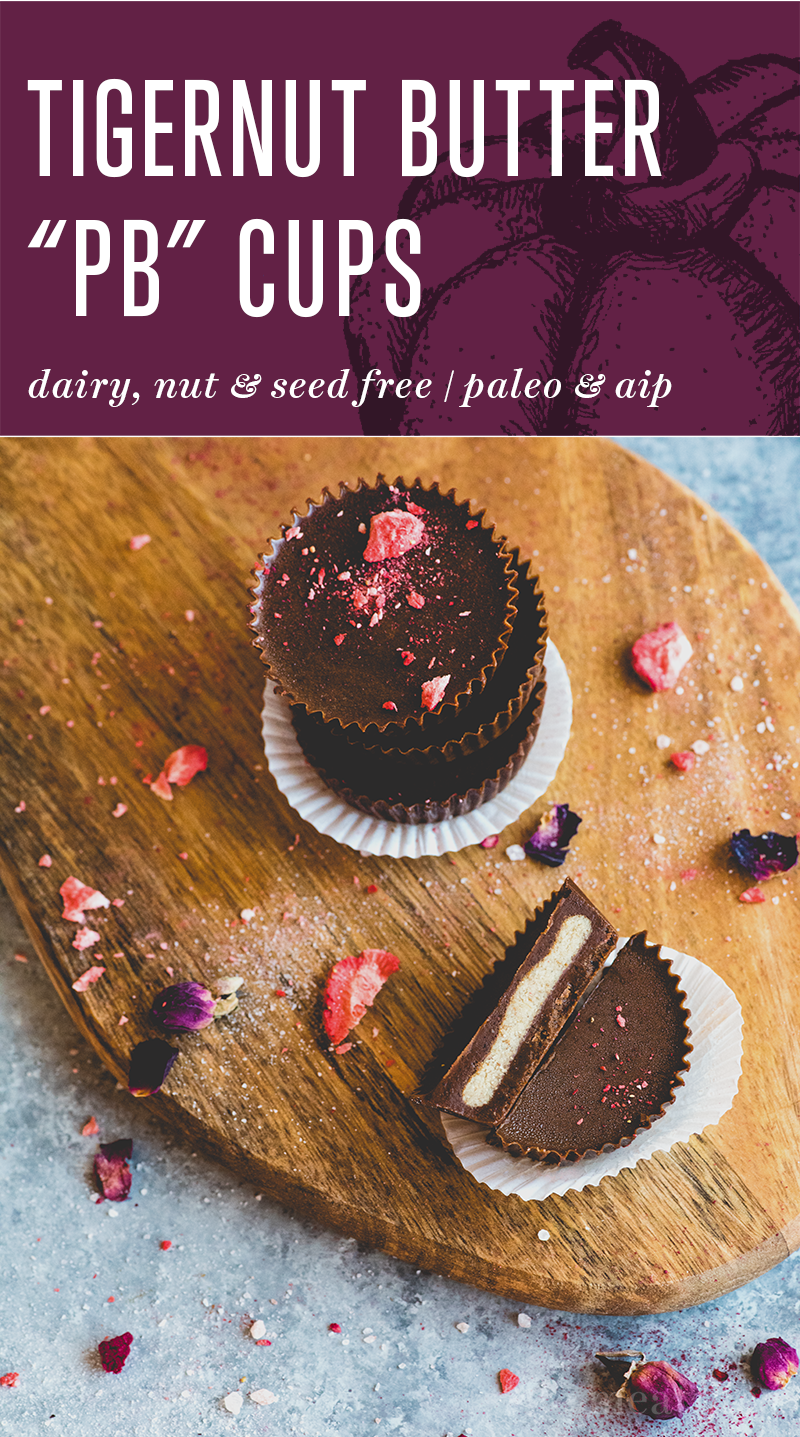
So, the short version is that you whiz up the tigernut butter filling – made with sifted tigernut flour, a blend of palm shortening and avocado oil to give creaminess without gooey-ness, plus some raw honey and salt – first, then chill it in the fridge for a bit. The chilling isn’t optional, so please don’t skip it, because it makes your life way easier. These tigernut butter cups are not gratuitously goopy in texture inside, they’re as close as I could get to the real thing, which means they’re slightly firm and a little crumbly, then they melt in your mouth.
The trick to keeping the filling together and getting it to play nicely and end up INSIDE the cups rather than everywhere else, is to roll it together into little balls and then flatten those into discs that fit neatly into the tigernut butter cups. That’s infinitely easier when it’s chilled, because it’s firmer then. If it’s really warm in your kitchen like mine, it helps to throw on a pair of disposable gloves so that the heat from your hands doesn’t get all up in everything and make a melty mess.
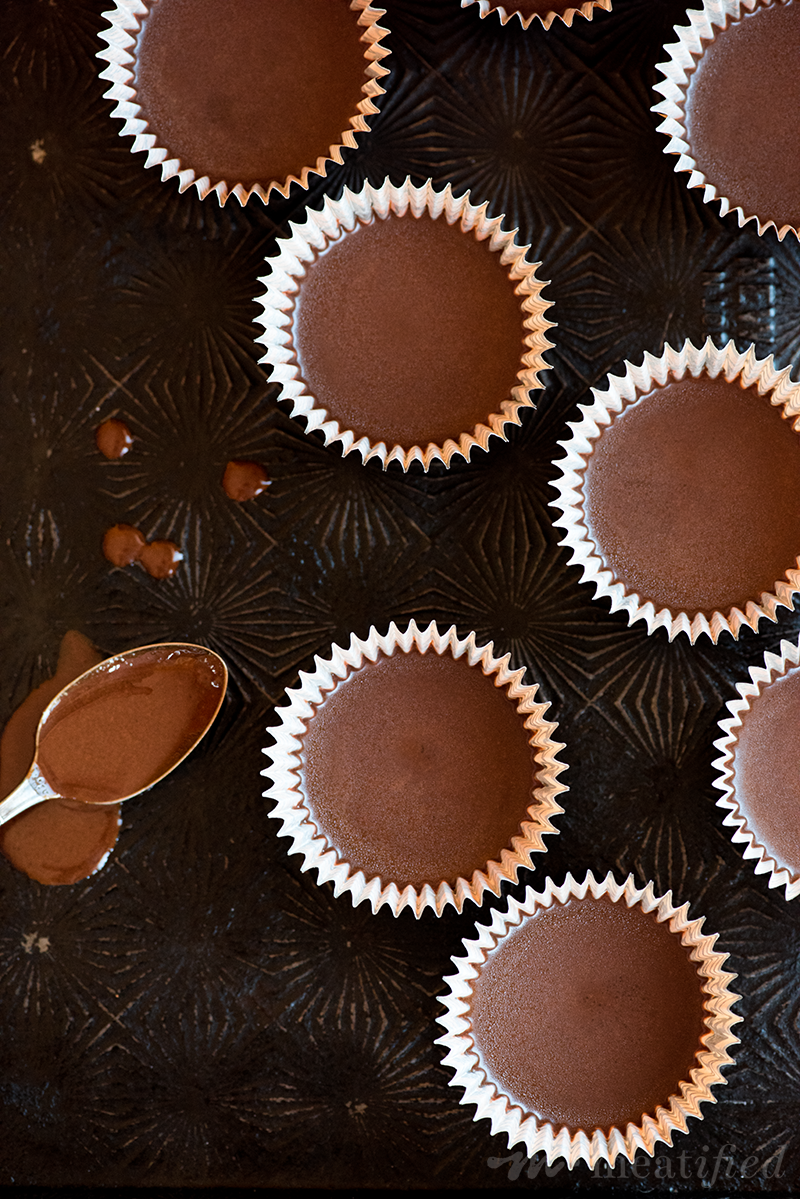
Because the carob coating is made with coconut oil so that it will set firmly in the fridge or freezer nicely, that does mean that it will melt instantly once it’s past 76F or so, coconut oil‘s natural melting point. This is one of the rare occasions that I like to use a refined coconut oil, since it doesn’t have a coconut flavor or scent that will overwhelm here.
You can use whichever carob powder you like here, but my favorite choice is one that has been lightly roasted for extra depth of flavor, like this one. The end result is that the tigernut butter cups have a bittersweet flavor, like a darker chocolate, which pairs so well with the nutty sweetness of the tigernut filling and which will help set off any toppings you choose to finish with on top.
Please note that while it may make no difference at all, I would be remiss if I didn’t point out that I have only made and tested this recipe with this brand of tigernut flour. I don’t imagine it would make much difference, if any at all, but I haven’t tested out any other brands, so I can’t say for certain.
Now, you can chill these until set in the fridge or freezer, it’s totally up to you. Once they’re completely set, pop them into an airtight container and you’ll have tigernut butter cups to hand whenever you want them. Unless, as was the case in my house, someone raids the aforementioned stash of tigernut butter cups.
(You know who you are.)
I like mine best frozen, then taken out and left at room temperature for a minute or two to soften up just a little. For advanced, no-mess eatin’, I do recommend holding onto the paper liners rather than the tigernut butter cups themselves, because they will melt pretty rapidly from the heat of your fingers.
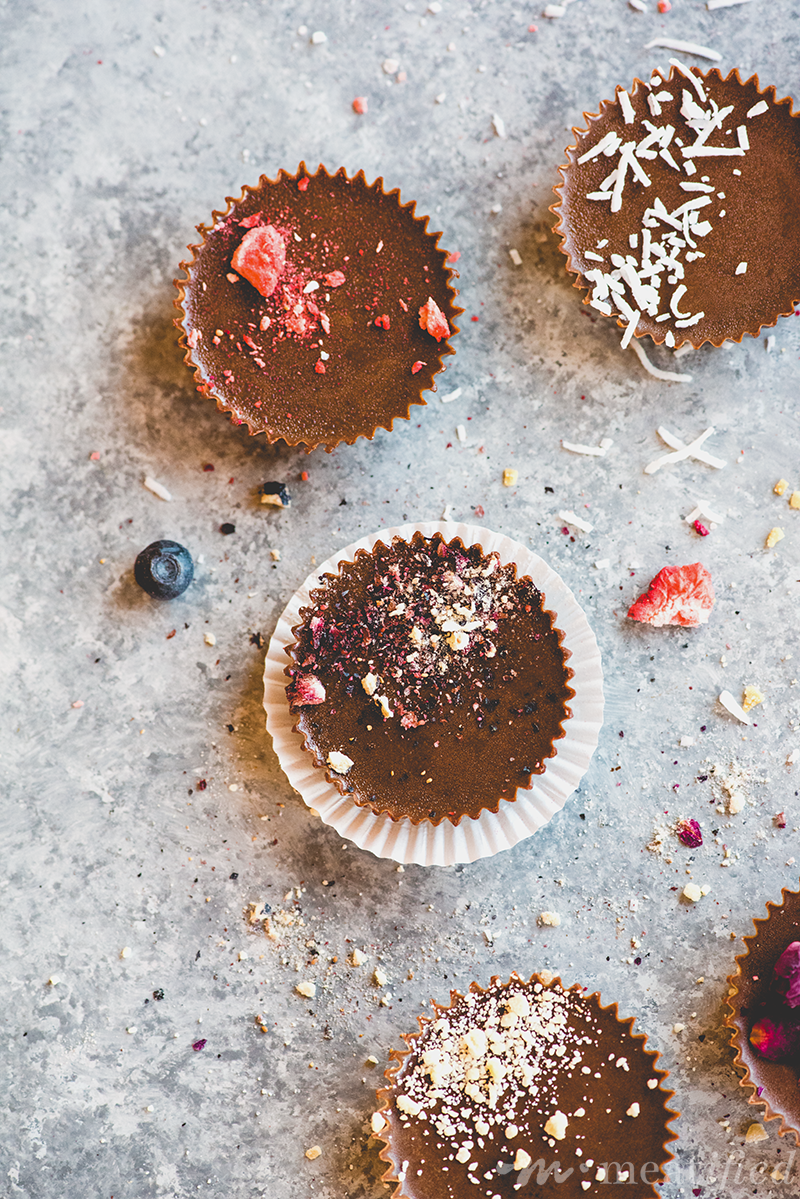
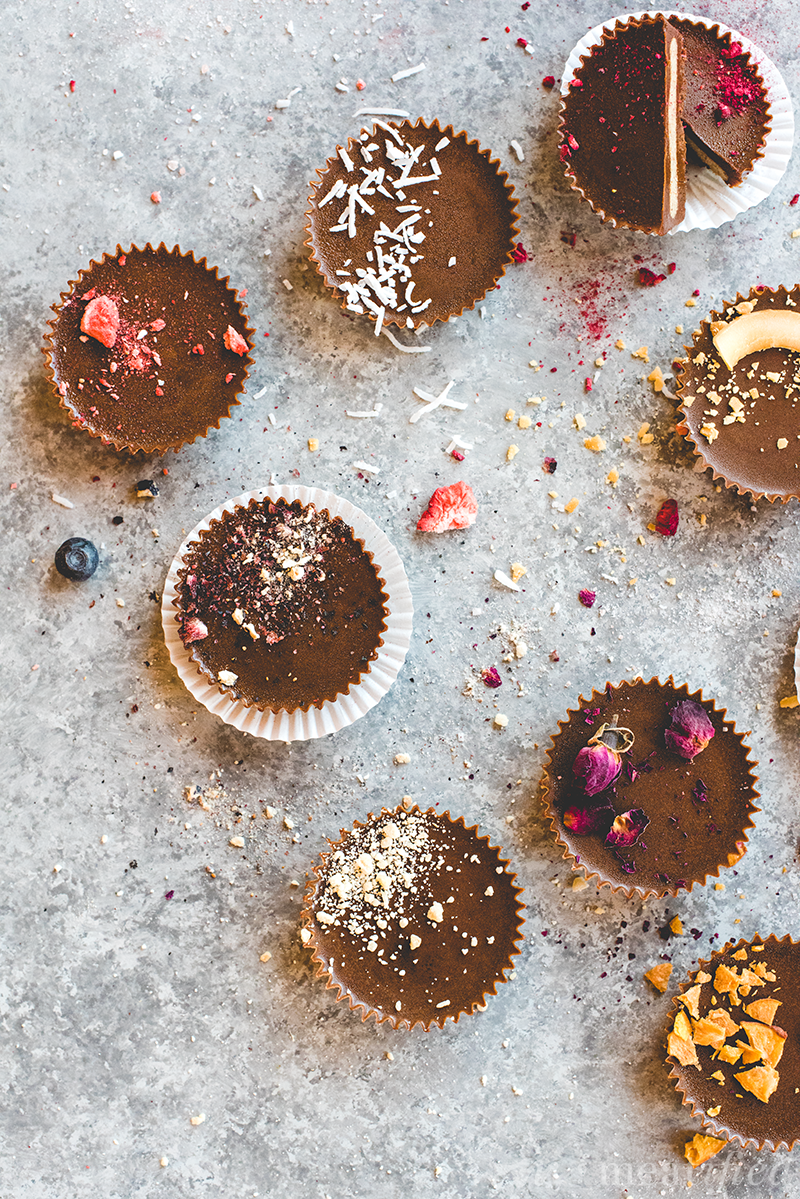
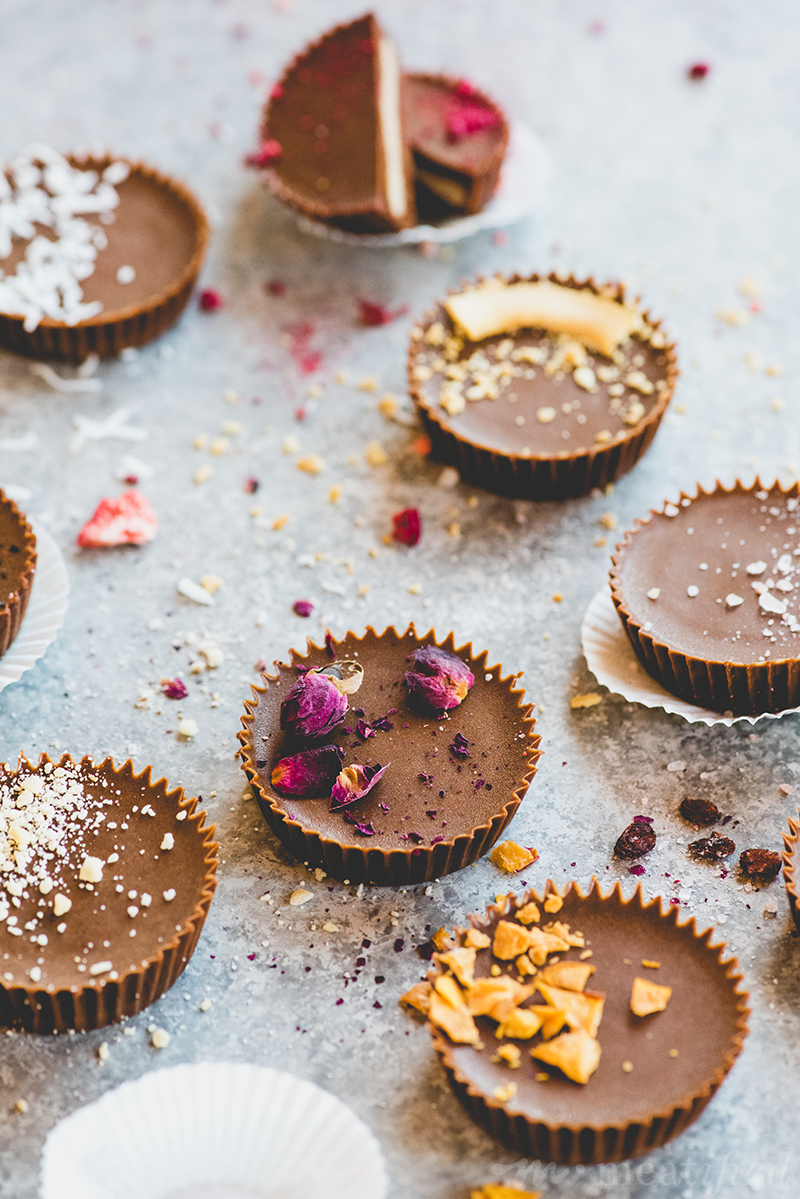
Now for my favorite part…. the toppings!!
You can, of course, leave them plain and unfussy, but I can never resist the opportunity to prettify the few rare treats I make, so I went all out, ha! Here’s some of what I used in the photos:
- broken up caramel sea salt toasted coconut chips
- crushed crystallized ginger chips (not aip)
- crunchy himalayan sea salt flakes
- squished freeze dried blueberries
- pieces of sweet potato chips
- shredded unsweetened coconut
- lightly crushed freeze dried raspberries
- crumbled dried rose petals
- bits of freeze dried strawberries
- nuggets of dried barberries or little golden raisins
I’m sure there are plenty of other options I haven’t even though of yet… how would you top your tigernut butter cups?!
Tigernut Butter Cups (AIP peanut butter cups!)

(Please note that the prep time includes 1 hour of chilling time, but the actual hands on time is only 15 minutes.)
- Prep Time: 1 hour 15 mins
- Total Time: 1 hour 15 mins
- Yield: 10 cups 1x
Ingredients
For the tigernut butter:
- 1/2 cup / 55 g tigernut flour (I used this brand)
- 2 tbsp / 30 ml palm shortening
- 1 tbsp / 15 ml avocado oil
- 1 tbsp / 15 ml raw honey or maple syrup, optional, see notes
- 1/4 tsp fine sea salt
For the bottom layer: (see notes)
- 1/4 cup / 30 g carob powder (I use this lightly roasted one)
- 1/4 cup / 60 ml melted coconut oil (I use this one without coconut scent)
- 1 tbsp / 15 ml palm shortening
- 1 tbsp / 15 ml raw honey, optional
For the top layer:
- 1/4 cup / 30 g carob powder
- 1/4 cup / 60 ml melted coconut oil
- 1 tbsp / 15 ml palm shortening
- 1 tbsp / 15 ml raw honey, optional
Optional topping ideas:
- broken up caramel sea salt toasted coconut chips
- crushed crystallized ginger chips (not aip)
- crunchy himalayan sea salt flakes
- squished freeze dried blueberries
- pieces of sweet potato chips
- shredded unsweetened coconut
- lightly crushed freeze dried raspberries
- crumbled dried rose petals
- bits of freeze dried strawberries
- nuggets of dried barberries or little golden raisins
Instructions
- SIFT: Press the tigernut flour through a fine mesh sieve, using the back of a spoon, discarding any large, darker pieces of the pod.
- BLEND: Add the sifted tigernut flour, palm shortening, avocado oil, raw honey and fine sea salt to a mini food processor and blend, scraping down the side a time or two, until the tigernut butter is creamy.
- CHILL: Scoop the tigernut butter into a bowl, cover and chill for 30 minutes. Wipe out the mini food processor.
- LINE: Set out 10 cupcake liners (mine had a bottom diameter of 2 inches / 5 cm) on a tray that will fit into your fridge easily. Add the ingredients for the bottom layer to the bowl of the mini food processor and blend until smooth. Use a 2 tsp / 10 ml scoop or measuring spoon to divide the carob mixture evenly between cupcake liners. Chill until the tigernut butter is ready.
- DIVIDE: Once the tigernut butter mixture is chilled, remove the tray with the filled cupcake liners from the fridge. Use a 2 tsp / 10 ml scoop or measuring spoon to divide the tigernut butter into equal sized portions. Working quickly because of the heat of your hands (in the summer, it’s useful to have some disposable gloves to hand!), roll each portion of tigernut butter into a ball and then flatten into a disc.
- FILL: Tuck each disc into a cupcake liner and use your fingers to gently press until the discs are level and almost reach the edges of the carob mixture, leaving a small gap between the tigernut filling and the paper liner so the cups will seal nicely when the top layer is added to the cups later.
- TOP: Just as before, add all the ingredients of the top layer to the mini food processor and blend until smooth. Use a 2 tsp / 10 ml scoop or measuring spoon to divide the carob mixture between cups, making sure the filling is covered completely.
- CHILL or FREEZE: Return the filled cups on their tray to the fridge, or to the freezer until set. Eat immediately or transfer them to an airtight container once they’re set and eat when the fancy strikes you!
Notes
If you’d like to skip the sweetener in the tigernut butter, leave it out! You may need to add another teaspoon or so of avocado oil to make up for the loss of moisture.
Feel free to leave the honey out of the carob mixture, you don’t need to replace it if you omit it from the recipe.
I like to mix the top and bottom carob layers up separately, because if it’s colder in the kitchen, the carob mixture will set in the mini food processor and then you have to mes around re melting it again. If it’s warm, feel free to make the full batch of top & bottom carob mixture all together at the same time!


3 comments